5 Steps to Planning for a New Office or Remodel
I’ve helped with the planning of numerous build-outs, moves and remodels for various companies over the years, and each time, my customers reiterate how thankful they are that we spoke prior to the move/remodel rather than after. It saves a ton of time and a ton of money. So, before you make any major changes, here is what you need to know in 5 easy steps.
First Step: The Basics
Plan the sizes of your rooms – you may want to talk to an architect about this, as they will need to complete final drawings for permitting. Offices are typically 12 to 14 square, and conference rooms are normally 12 by 15 feet or larger. Bathrooms are typically 7 x 7 square feet or larger, depending on your state’s ADA requirements. Additionally, you need about 36 inches between objects in order to allow enough space for walking. It is also extremely important to speak with your internet and phone providers about where their equipment will need to be placed. This site is very helpful in planning your space. I also highly suggest using painters tape to tape out the floor of each room – it really helps to give you an idea of the actual sizes of each space you are working with.
Second Step: The Flow
Don’t forget to plan for the flow of the rooms. Where are clients going to walk? Where does the furniture fit? Is the room the correct size for the furniture? Where is the TV going to go? All of these questions will need to be answered, especially when planning for your electrician or when buying furniture.
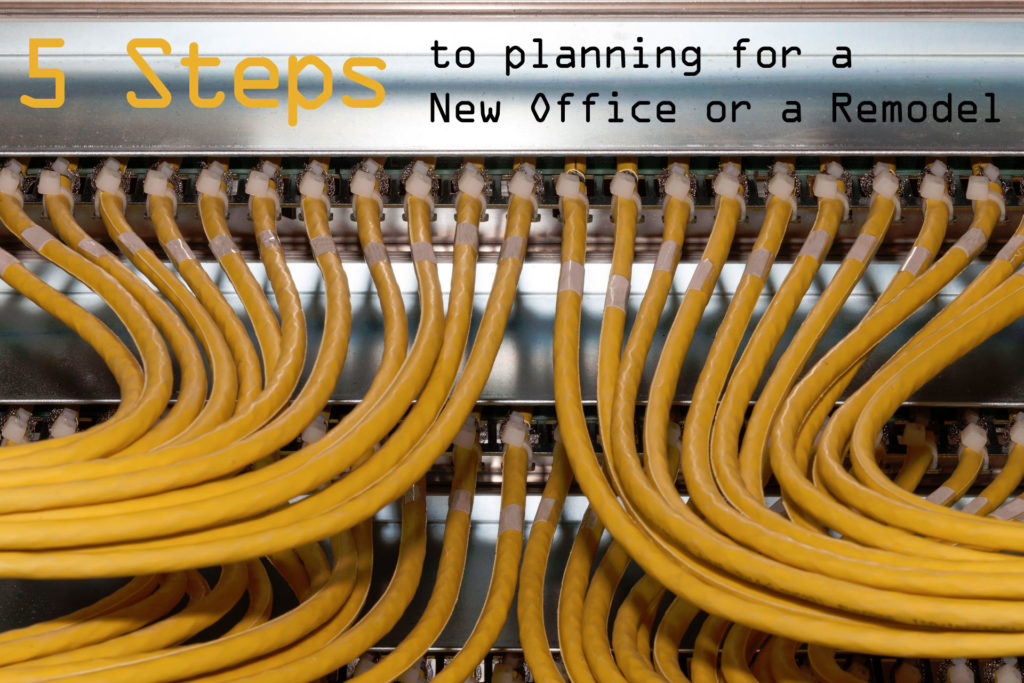
Third Step: Equipment
It is essential to figure out what equipment you have and what items are needed in your office. And once you have those things squared away, don’t forget how important it is to know the requirements of those (new or old) systems.
Equipment to think about:
- Computers (desktops and laptops)
- Printers
- Speakers and sound equipment
- Phone systems
- POS systems
- Switches and racks
- Firewalls/routers
- Wireless routers and extenders
- Security cameras
- Credit card machines
- Alarm systems
- Time clocks
- TV’s
- Projectors
- Vending machines (sounds funny, but it’s often forgotten about)
If you don’t know the requirements, you need to find out. The last thing you want is to have to pay the electrician twice to come back out and add lines.
Fourth Step: Functionality
Figure out which spaces need certain types of equipment. Will the desk have a phone, a computer and a printer? Can the phone and the computer share the same internet line? How does the computer connect to the printer – USB or Ethernet? Once you have these answers, talk to your electrician so they can plan for all materials that are needed during install. If, for example, your phones run on a phone line and your computer and printer run on ethernet, your electrician will need to install these lines accordingly to the wall, and then run them all to a central location (where your internet and phone provider is putting their equipment).
The most important advice I can give you is:
- Don’t depend on wireless internet to run your company just because you don’t want to spend the money to run the wire (This is especially important when it comes to your printers!).
- Keep your networks separate – One for the business and one as a guest network (phones, tablets, and any guest devices) is always a good idea.
- “When in doubt, always put a wire” – $20 now will end up costing you $200 a year from now… once you decide you need that wire!
Fifth step: Monitoring
When it comes to certified electricians, most of the time you shouldn’t have any issues. However, every once in awhile, electricians aren’t specifically trained about the wire they run. Here are some tips when it comes to working with your electrician.
- Ask about the grade of wire they use – sometimes medical spaces require cat6 not cat5e. See the difference here.
- Make sure your wire isn’t run a longer distance than the distance the wire is made for.
- Explain to the electrician how you’re going to use the spaces. They will be able to give great suggestions, and often come up with options you hadn’t thought of. They will also guide you to overhead lighting options that make for better work environments (less glare on computer screens etc.)
- Label the wall with what needs done prior to install so they don’t forget something – Remember, electricians are humans, too.
- Make sure the electrician labels all lines on the wall plate, and also notes where all the lines connect to the router/switches.
- Make sure you test all connections so you know for sure that nothing is wrong with the wiring before you sign off on the work.
- Keep their contact information, especially if they were hired by your landlord. This will come in handy if you have issues down the road.
No matter if you’re building your first office or if you’re on your third remodel, it’s always an adventure. But, if you plan correctly, it should be less of a headache. If you’ve read over all of this and you still feel overwhelmed, then just call or email us. We will gladly set up a time to meet with you (and even your electrician or architect) to help navigate the process.


