Step 1 – Download the Gmail App from the Google Play Store
Link: https://play.google.com/store/apps/details?id=com.google.android.gm&hl=en_US
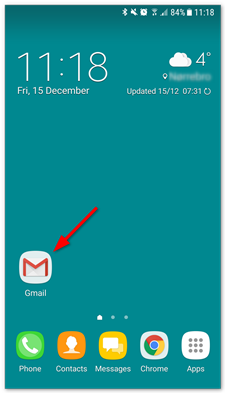
Step 2 – Open the Gmail App
Open the Gmail app on your Android device.
Step 3 – Go to Settings
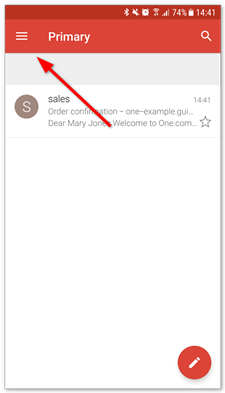
Click the menu in the top left corner to open Settings.
Step 4 – Click the Arrow to the Right of Your Email
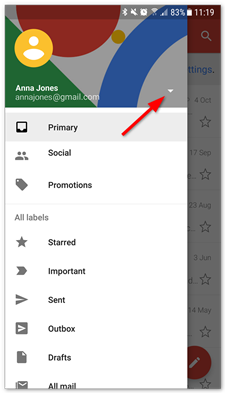
At the top of your screen, click the small arrow next to your name and email address to open Accounts. It looks like a triangle.
Step 5 – Click “Add Account”
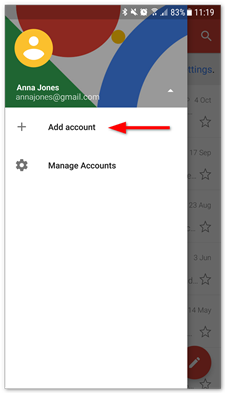
Click “Add Account” to start setup.
Step 6 – Click “Other”
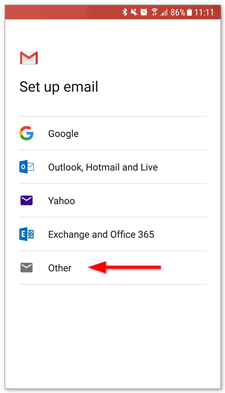
Select “Other” as the account you want to set up.
Tip: If you want to set up your email with Mobile Sync, choose “Exchange” instead.
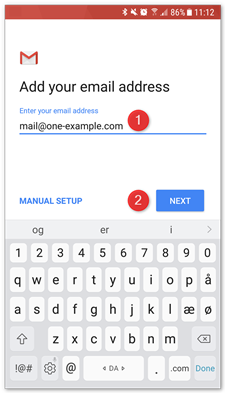
Step 7 – Enter Your Email Address
- Type in the email address you want to set up.
- Click “Next.”
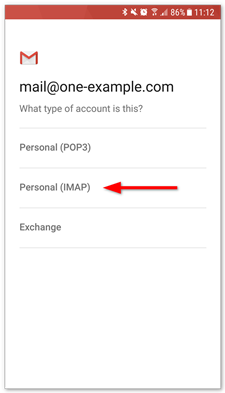
Step 8 – Select “IMAP”
Select “IMAP” as the account type.
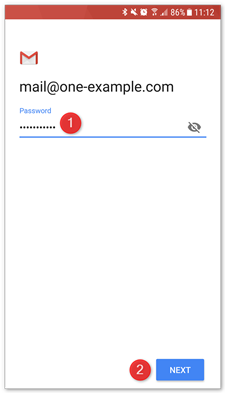
Step 9 – Enter Your Password
- Type in your email password (the one you use to log-in to Webmail).
- Click “Next.”
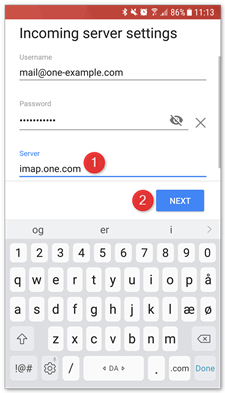
Step 10 – Enter imap.one.com for the Incoming Server
- Type in imap.one.com as the incoming server.
- Click “Next.”
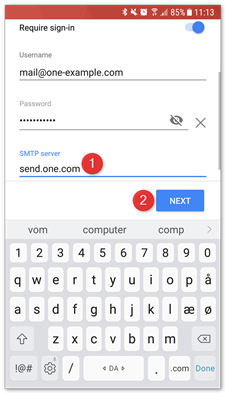
Step 11 – Enter send.one.com for the Outgoing Server
- Type in send.one.com as the outgoing server.
- Click “Next.”
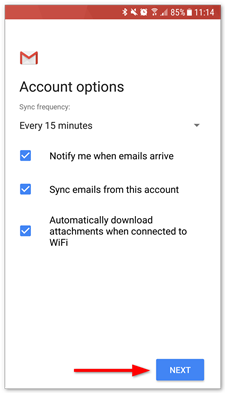
Step 12 – Select “Account Options”
Here you set how often Gmail should look for new emails, when you get notifications and more. Uncheck any options you don’t want and click “Next” to continue.
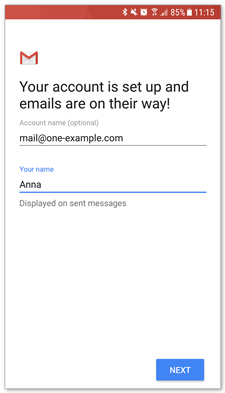
Step 13 – Done!
Your account is now set up and ready to go!
