Tag Archive for: gmail

Automated email sequence to an inbox.

How to Harness the Power of Email Sequences

Email marketing is the powerhouse of digital marketing strategies. One of the most powerful tools in this strategy’s arsenal is the automated email sequence.

Email marketing automation can entice new and bring back existing customers without you having to constantly hit send. Just set it, forget it, and reap the rewards.

Read more

Setting Up Gmail on your Android Phone

Step 1 – Download the Gmail App from the Google Play Store

Link: https://play.google.com/store/apps/details?id=com.google.android.gm&hl=en_US


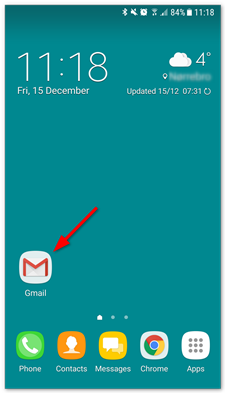
Step 2 –  Open the Gmail App

Open the Gmail app on your Android device.

android-gmail-open-app.png


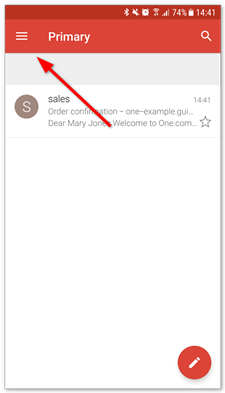
Step 3 – Go to Settings

Click the menu in the top left corner to open Settings.

android-gmail-menu.png


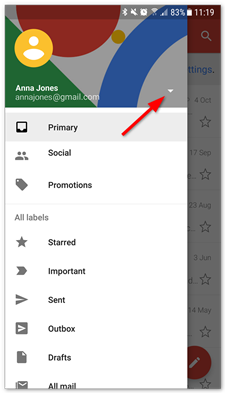
Step 4 – Click the Arrow to the Right of Your Email

At the top of your screen, click the small arrow next to your name and email address to open Accounts. It looks like a triangle.

android-gmail-settings-arrow.png


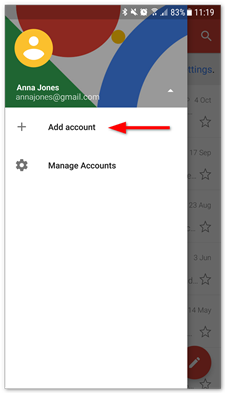
Step 5 – Click “Add Account”

Click “Add Account” to start setup.

android-gmail-add-account.png


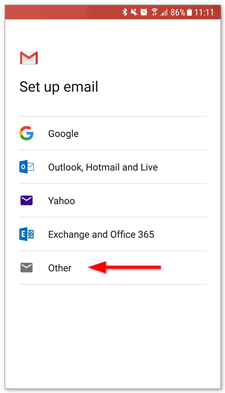
Step 6 – Click “Other”

Select “Other” as the account you want to set up.

Tip: If you want to set up your email with Mobile Sync, choose “Exchange” instead.

android-gmail-other.png


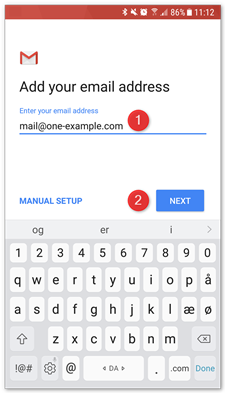
Step 7 – Enter Your Email Address

  1. Type in the email address you want to set up.
  2. Click “Next.”

android-gmail-type-address.png


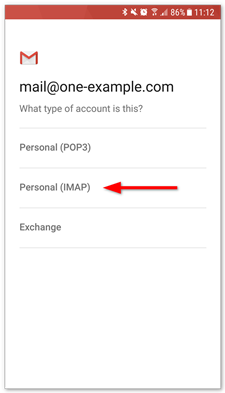
Step 8 – Select “IMAP”

Select “IMAP” as the account type.

android-gmail-type-account-imap.png


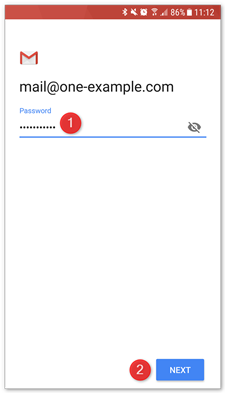
Step 9 – Enter Your Password

  1. Type in your email password (the one you use to log-in to Webmail).
  2. Click “Next.”

android-gmail-password.png


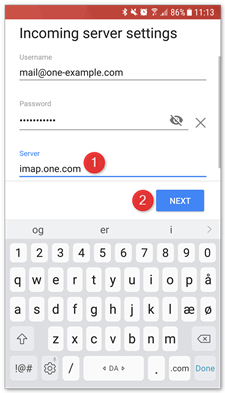
Step 10 – Enter imap.one.com for the Incoming Server

  1. Type in imap.one.com as the incoming server.
  2. Click “Next.”

android-gmail-incoming.png


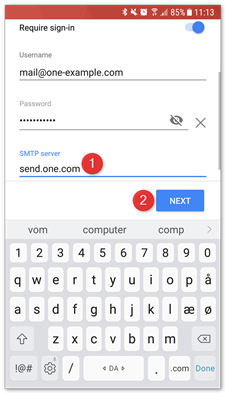
Step 11 – Enter send.one.com for the Outgoing Server

  1. Type in send.one.com as the outgoing server.
  2. Click “Next.”

android-gmail-outgoing.png


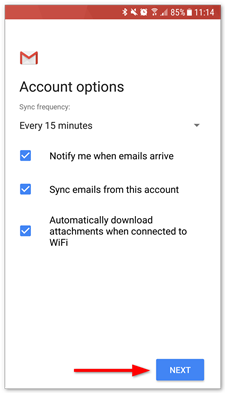
Step 12 – Select “Account Options”

Here you set how often Gmail should look for new emails, when you get notifications and more. Uncheck any options you don’t want and click “Next” to continue.
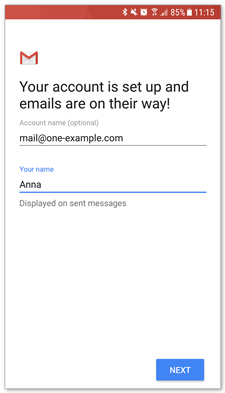
android-gmail-options.png


Step 13 – Done!

Your account is now set up and ready to go!

android-gmail-done.png

Add Gmail to your iPhone

In the end, personal preference matters, but, logically speaking, the Gmail app is a better option than the Apple mail app for most users. It offers more flexibility and more features than iOS’ stock mail app.

If design is one of the deciding factors for you, Gmail’s colorful interface is more appealing than Apple’s minimalistic approach, and most people stop using the native Apple stock iOS mail app after learning it doesn’t offer true push notification functionality for emails.

How to Setup Gmail on your iPhone (using the GMail App)

  1. Make sure you’ve downloaded the Gmail app.
  2. On your iPhone or iPad, open the Gmail app Gmail.
  3. Login using your email accounts and password

Additional Help For Settings:

How to Setup Gmail on your iPhone (using the native app)

To begin using Gmail on your iOS device, set up Google Sync by performing the following steps:

  1. Go to your device’s account settings.
  2. Tap Mail, Contacts, Calendars.
  3. Tap Add Account.
  4. Tap Google.
  5. Add your G Suite account and follow the instructions from there.
  6. Choose which products you want to synchronize with your device.

I Have GSuite Gmail; So Now What?

First, congratulations! If you’ve made this step to getting a gsuite gmail, there’s a good chance that you’ve been emailing for some time and you know the basics, so I’m not going to bore you with “how to write an email” fundamentals. With that being said, let’s go over some details you’re going to love about Gmail and a few things that you might not know about, too. Read more